Remedies For Life.
Remedies For Life.
Most popular


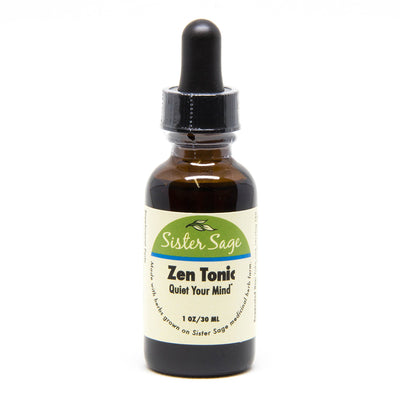
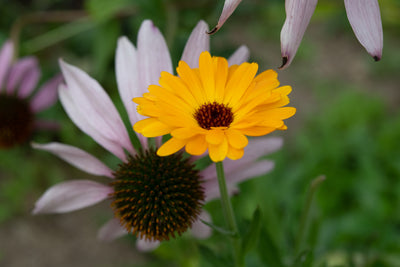
Our tinctures begin with a flower or herb grown on Sister Sage Herbs' own medicinal herb farm to bring you fresh, seasonally made remedies

Spread the goodness
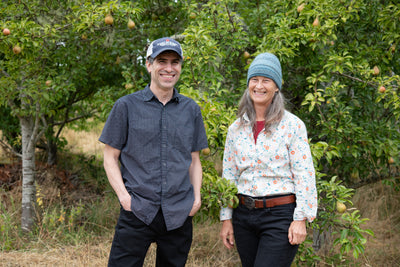
Made with herbs grown on our farm on Vashon Island, Washington.
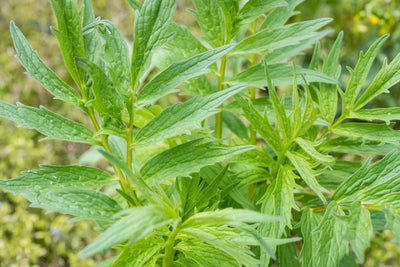
Try our valerian root extract! We grow Valerian root for our Dream On formula
As a thank you to our customers we have free US shipping on all orders $100.